
When we read that for this month the theme is Anything Goes at the Papericious Blog, we were confused! When you have a theme given, its easy to work, but when you’re told anything is okay-you’re lost with options! And that’s exactly what happened with us.
We were however sure, that we want to work with the new release paper collection- Mi Estilo. We then decided to design a Jewellery/Cosmetic Box that any girl would love to have.
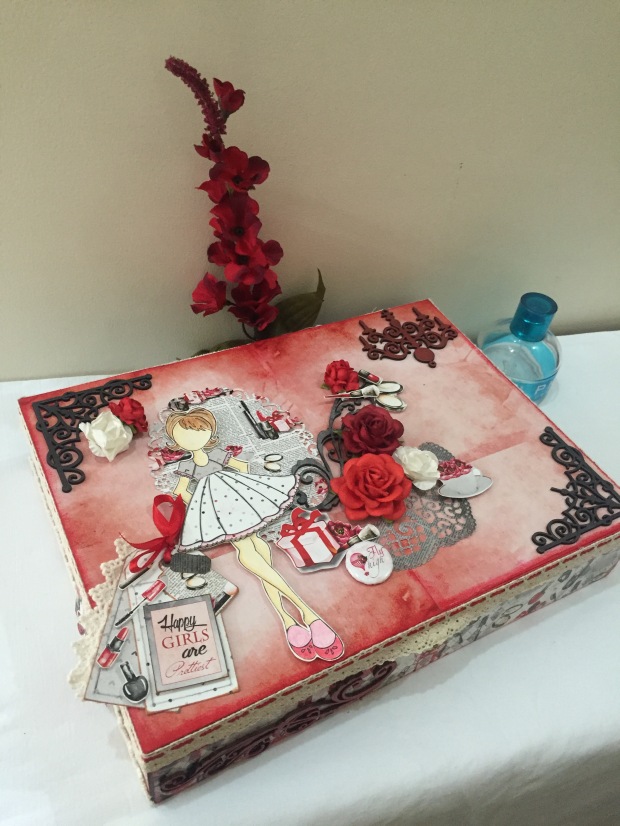
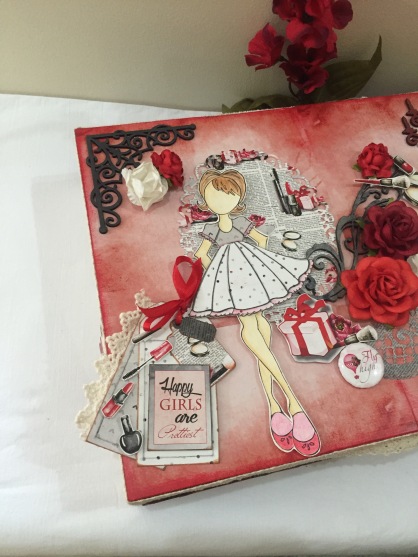
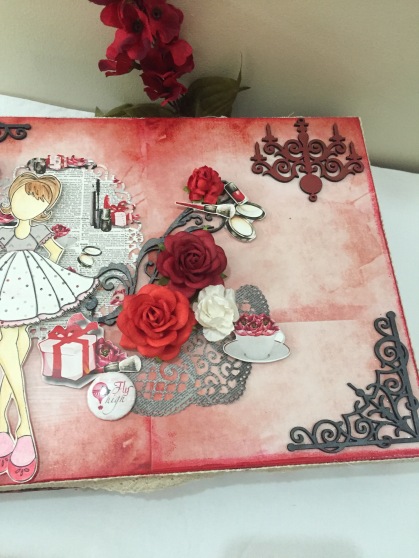
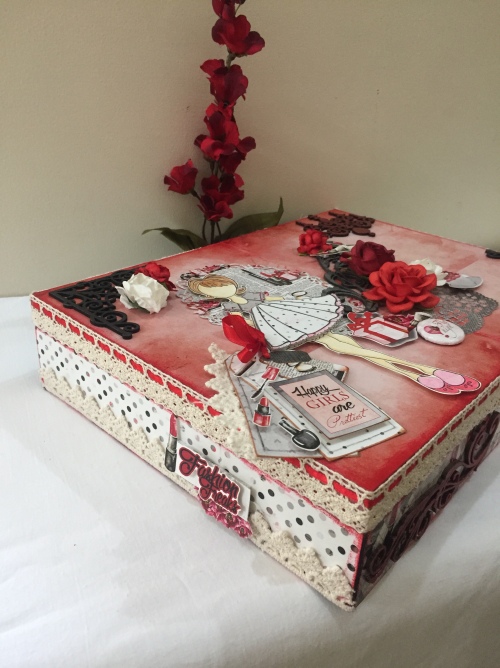
We’ve used a 12″ x 9″ Pine Wood MDF box with partitions as our base and 6 x6″ Mi Estilo Paper Pad. We chose a few sheets and fussy cut out smaller elements from one of the included sheets. We chose a plain shaded red background for the top, bigger polka dots for two sides and an abstract design with the highlight elements for the front side. We adhered them with mod podge onto our base. We stamped a Prima doll and for her clothes we chose the smaller polka dots and the grey heart paper from the same collection. We water-coloured the rest of the girl and added dimension with foam tape. We then began picking out elements that would go on the box. We die cut an oval frame and an ornamental corner using different papers from the same collection. We chose two chipboard corners, a chandelier and a flourish. We painted them using metallic black and rust.
We laid out all the cut elements onto the box and filled a few red, maroon and white roses in between. We then added smaller fussy cut elements (make up essentials). Once happy we stuck them with tacky glue and foam tape. We added a button from the Often collection.
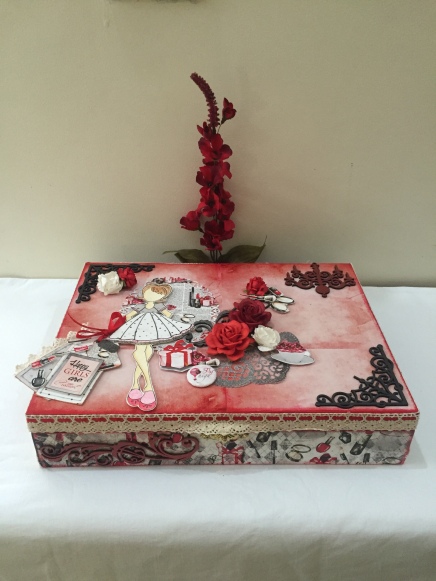
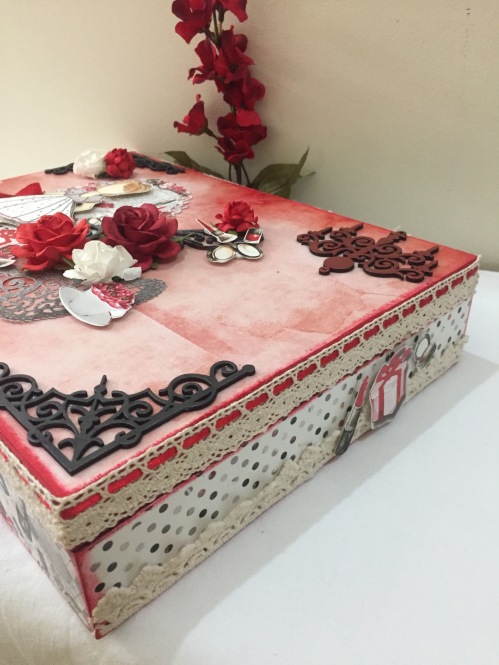
We then stuck some lace borders on to the sides of the lid and bottom of the box for a richer look. From the same fussy cut elements, we chose a few and stuck them onto our sides. For the front side we stuck the same flourish chipboard used on the top.
We then created a mini tag that can either sit on the box or be used separately. We layered different papers used on the box, added “Happy girls are..” sentiment and finished it with a few more smaller fussy cut make up elements. We tied everything together with a red ribbon.
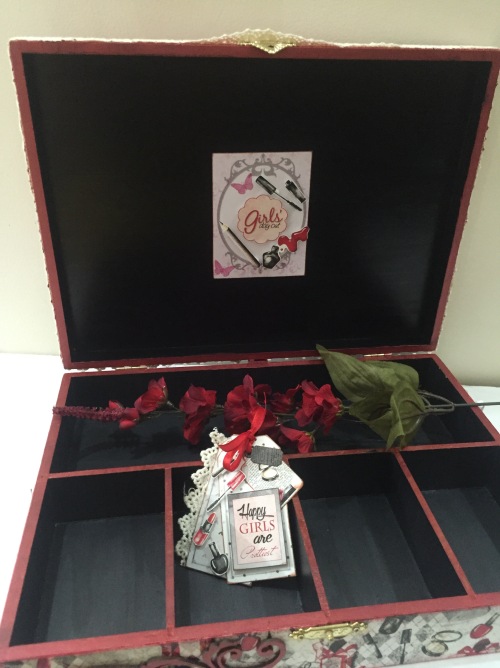
We also put a little something inside the box. For this we used a frame cut from a sheet in the Ephemera collection, added fussy cut elements from Mi Estilo collection and stuck with foam tape.
For the entire box we chose black, white, rust and red colours and played with them.
This box has so many tiny details. We took almost 8 hours to finish this and it was totally worth our effort. It is a happy box and we’re sure every girl would love to own one. It can make such a wonderful gift as well!
We’ve clicked pictures from various angles too show you the details!
Hope this box makes you happy:)!

This project was submitted for:
Anything Goes August Challenge- Papericious
![]()

Such a pretty box! I love the little details that you have added. It sure will make for a memorable gift! Thank you for playing along the Papericious Challenge!
LikeLike
Thank you Ujjwal😊
LikeLike
Gorgeous. Loved all the details. Thank you for participating in the Papericious August Challenge-Anything goes.
LikeLike
Thank you Shalini 😊
LikeLike
great project. you gave me many ideas how to use this great set of paper.
Thank you for participating in the Papericious August Challenge-Anything goes
LikeLike
Thank you donnish Diana for appreciating our work 😊❤️
LikeLike
AHMAZING!!! So many details! LOVE it!
Thank you for playing along with us!
~ Erum
Papericious DT
LikeLike
Thank you so much 😊
LikeLike
Beautiful work 🙂 Thank you so much for joining us at Papericious 🙂
LikeLike
Thank you 😊❤️
LikeLike