Hello everyone,
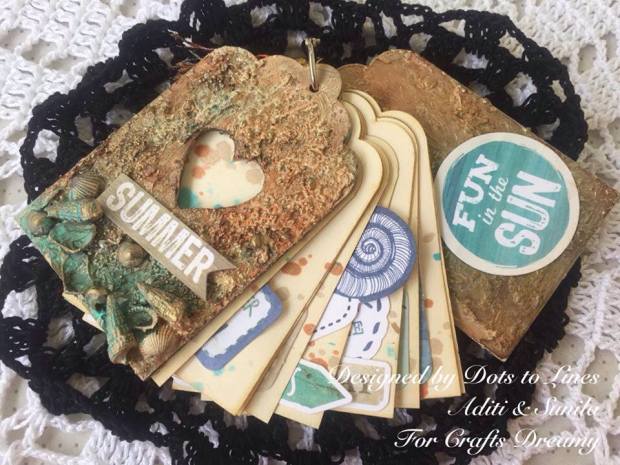
Today we’re at the Rainbow Craftykari blog with a fun tutorial! We’re sharing an easy to make album tutorial. This one does not require a hinge system and is a cute small book that can fit into a handbag.
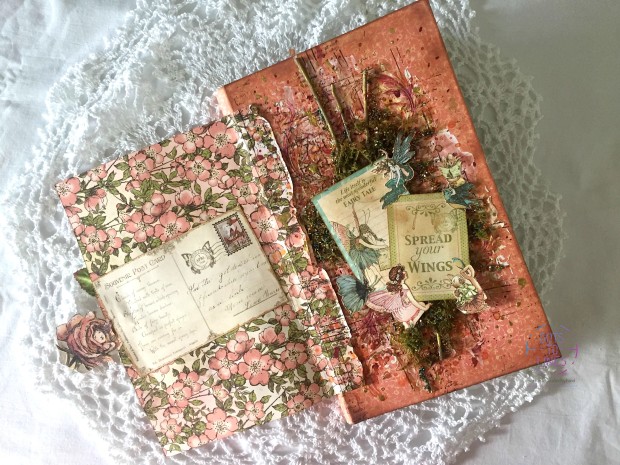
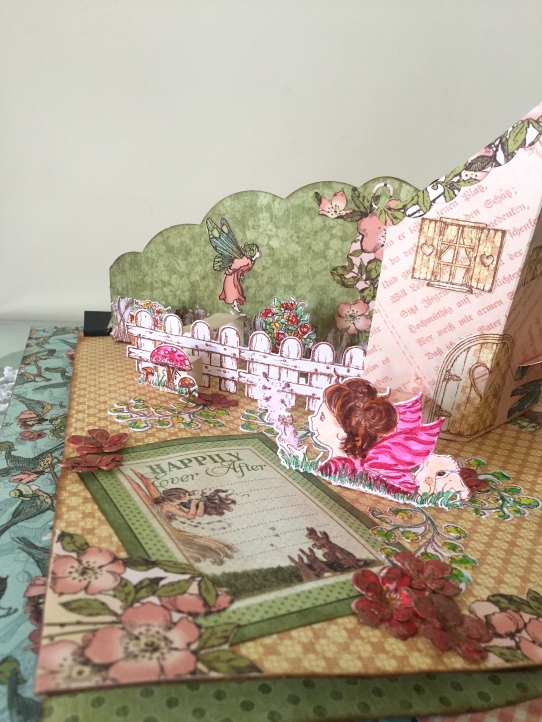
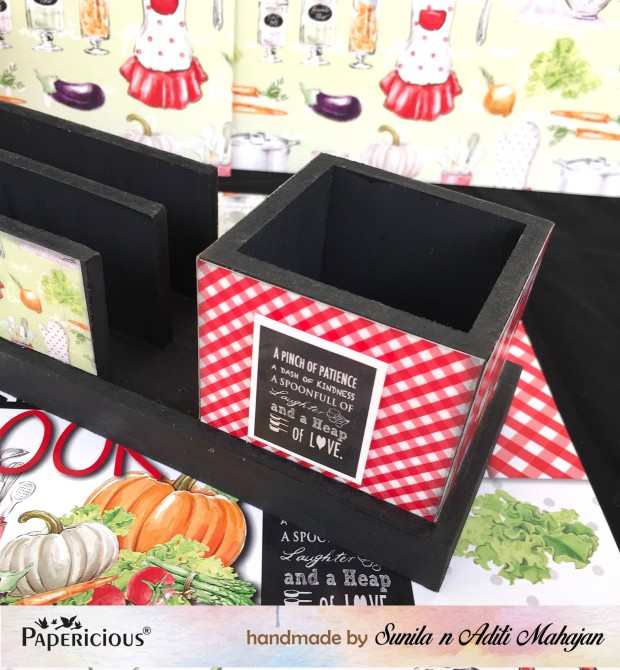
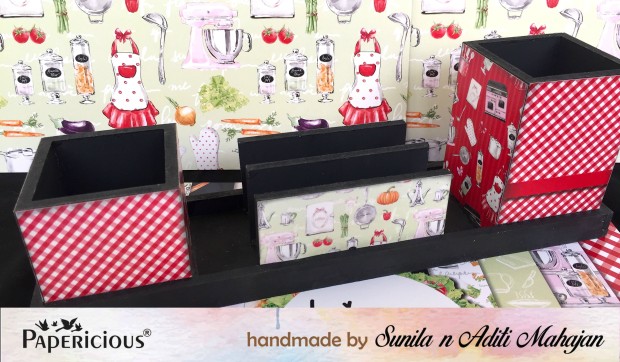
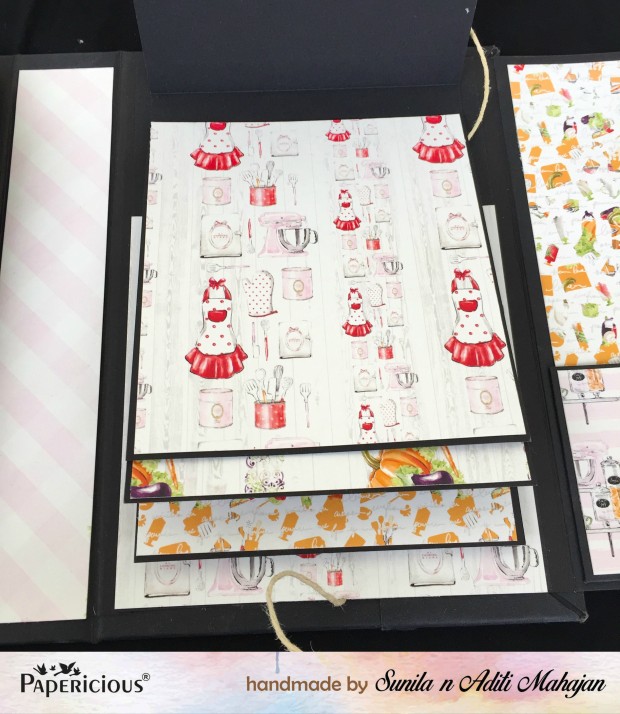
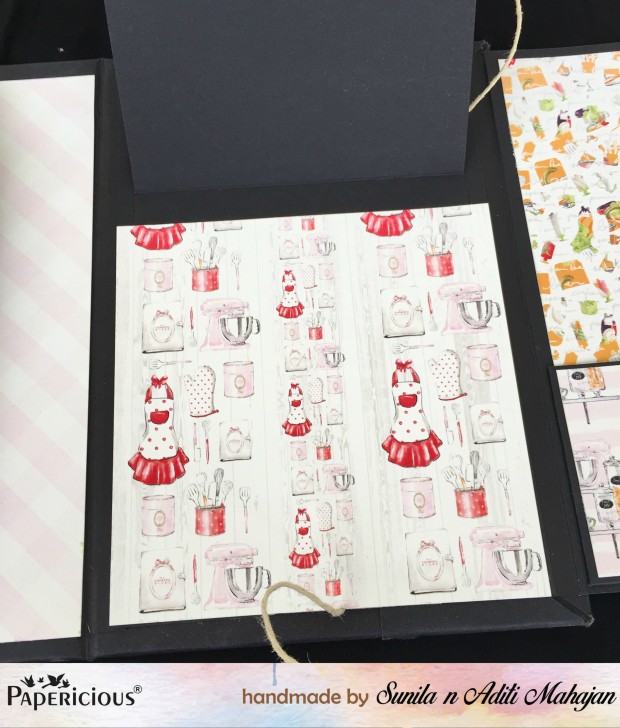
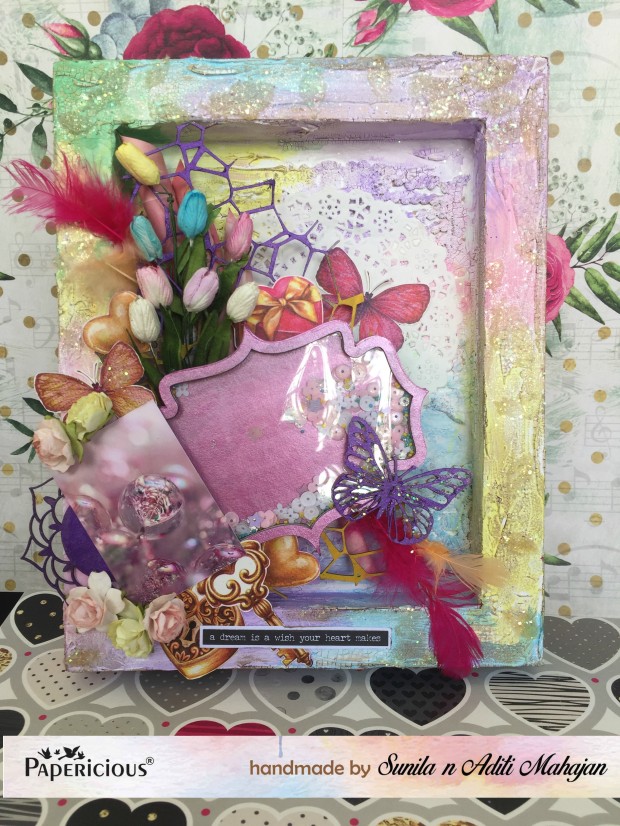
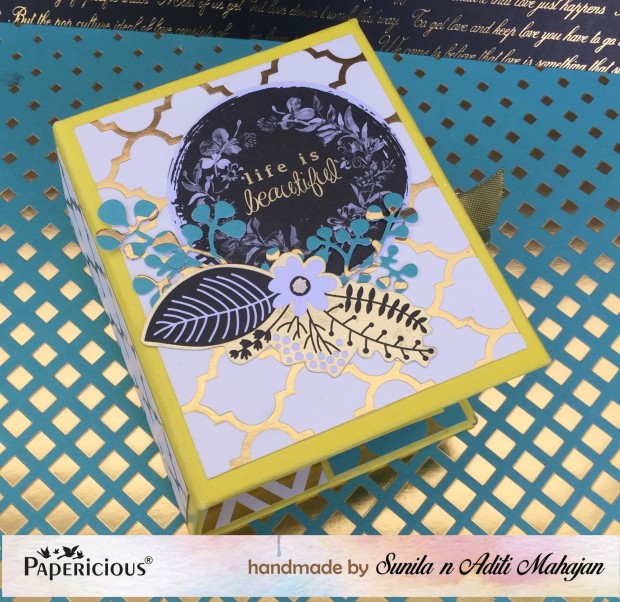
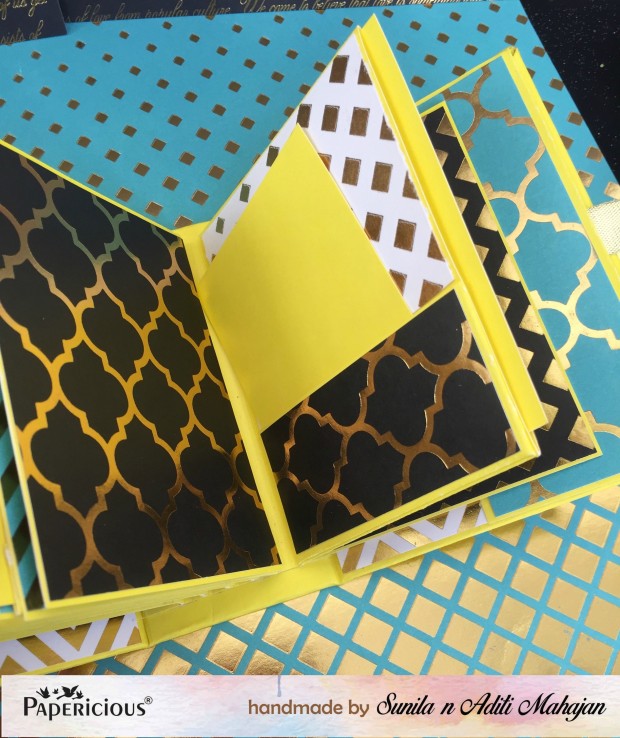
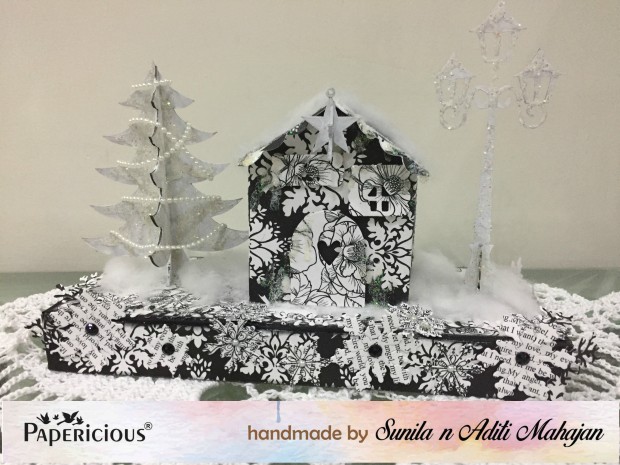
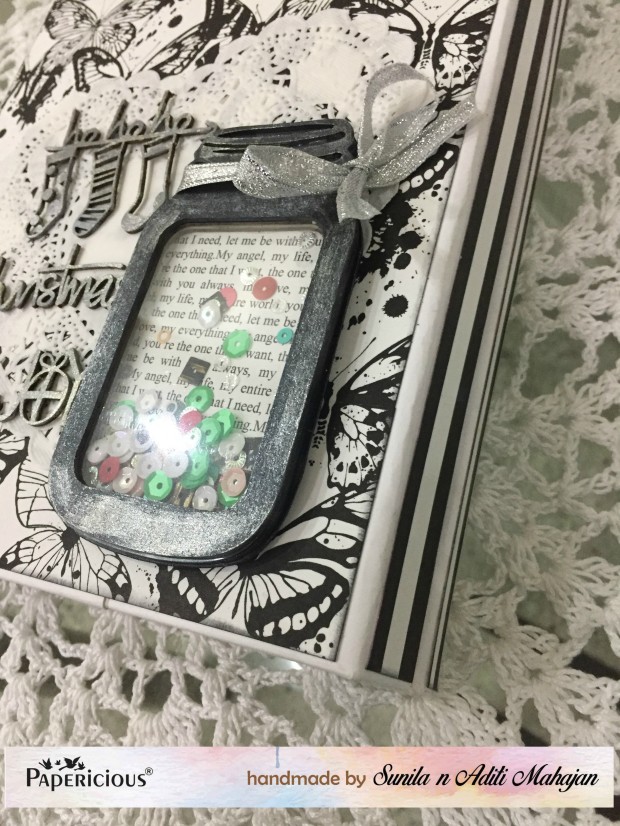
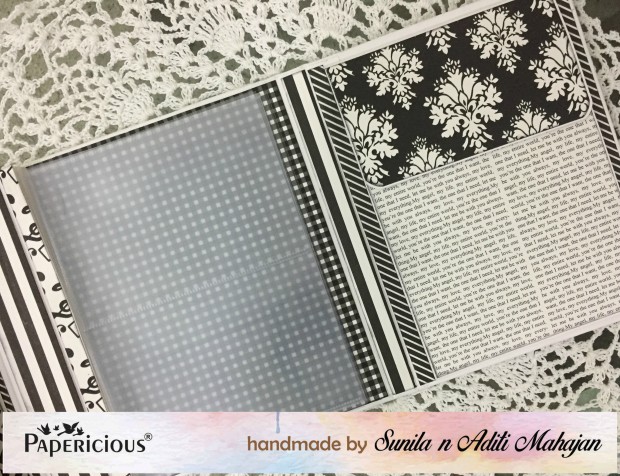
Before starting the tutorial, have a look at the album.

Let’s begin…
First cut two pieces of chipboard for the front and back cover. (measurements in inches)

Next, cut card stock and score for our pages. Score on the 7″ side first at 3.5″, flip the page and at the 6″ side score at 4.5″.


Keeping the 7″ side, fold over the score line upward. Next, turn over and fold over the 3.5″ score line. Do this to all five pages.


We wanted to add some design to the pockets, so we used a punch for this.


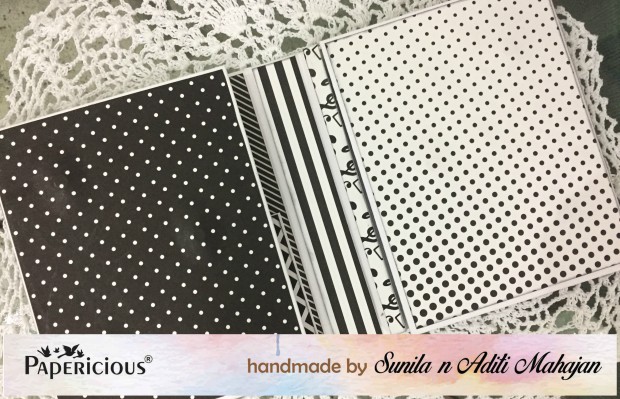
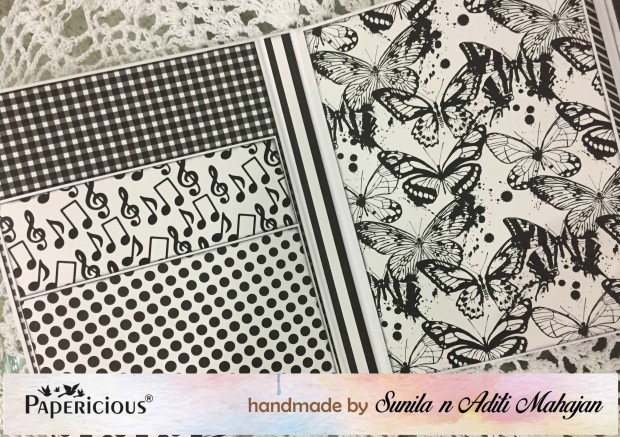
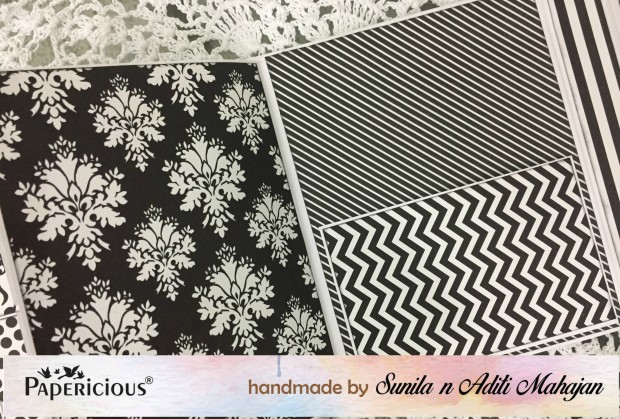
Using 5 different pattern paper sheets from the book, cut papers for the pages. (3.25″ x 4″)

Distress the edges and stick onto the cardstock page using tacky tape.


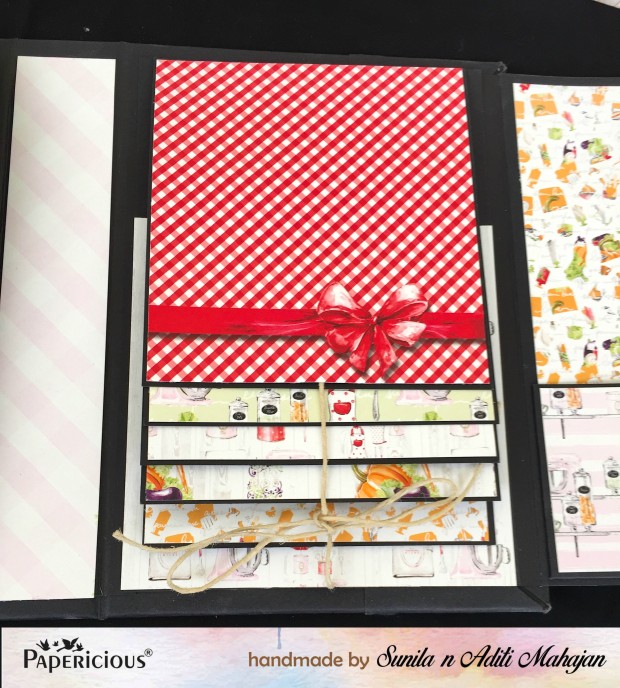
Time to stick the pockets. Add a think line of glue on the extreme ends and fold the flap upward and press to stick. Cut patterned paper for the pockets and stick.


To close the page, add glue as shown below, fold and press firmly. This way, we get a pocket on the top of the page as well.

Once all pages are done, punch three holes on the end that is stuck together; one in the centre and two 3/8th from the top and bottom. You can use one page as a template to mark holes on the other pages.

Cover the chipboard pieces with the same cardstock and add patterned paper (pp- 3 5/8 ” x 4 5/8″). Once done, using the page as a reference, centre on the chipboard pieces and punch three holes.


Add eyelets to the pages and the cover. Initially we wanted to use the rings to put the book together, but later decided to use some ribbon. So you could use either.

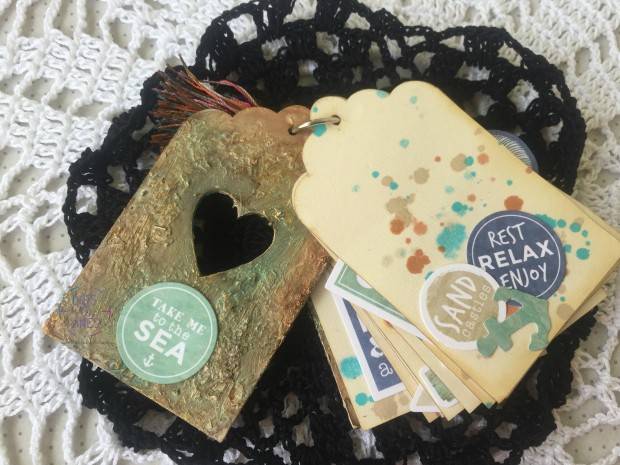
For the pockets on top, cut 5 tags using the cardstock. Pattern Paper measurements would vary according to the style of your tag.

With this the basic structure of the album is ready. Let’s move to the decoration.
Now in this tutorial, you will notice that our main focus has been on using a single 6″ paper pack and minimal wastage. For the entire album including the tags and photo mats, only 9 sheets pattern paper sheets and five 12×12 cardstock sheets were used.
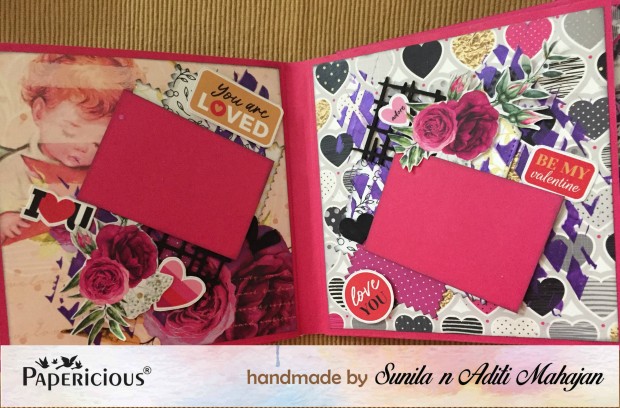
Since this is a small album, we made the photo mats according to the left over rectangle pattern paper pieces from the pages and cover. We used the die cut sheets in the paper pack, to embellish further. Some places, we used them to make a pocket and add smaller die cut elements inside.
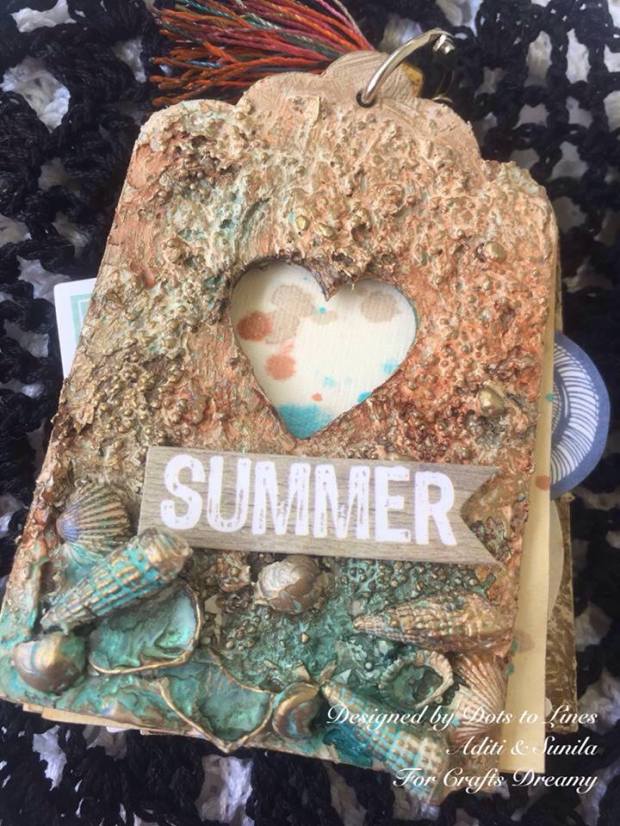
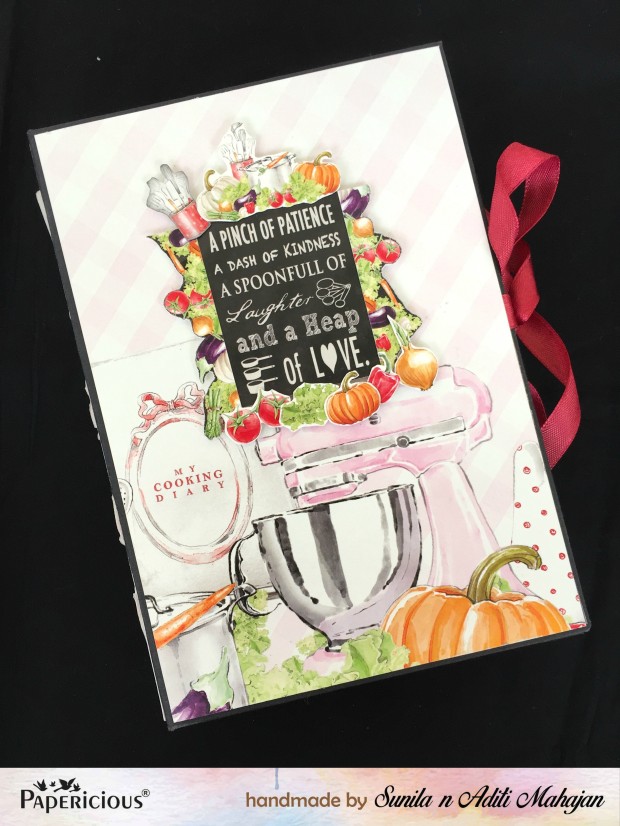
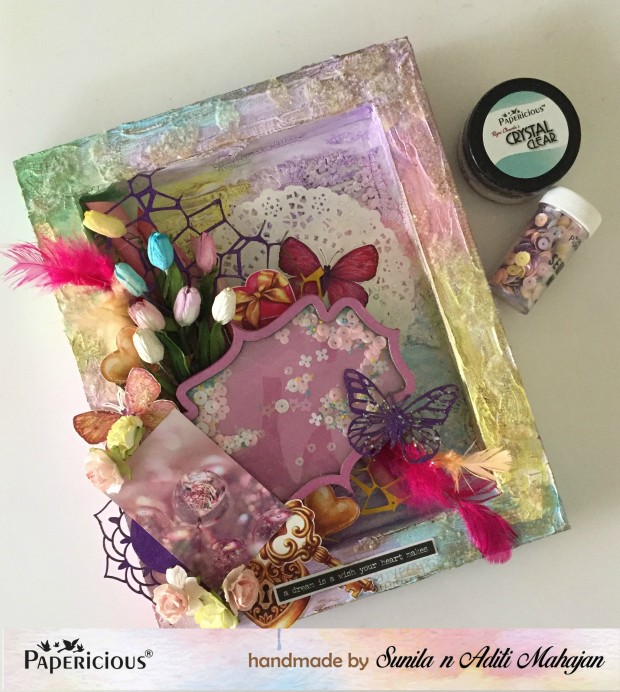
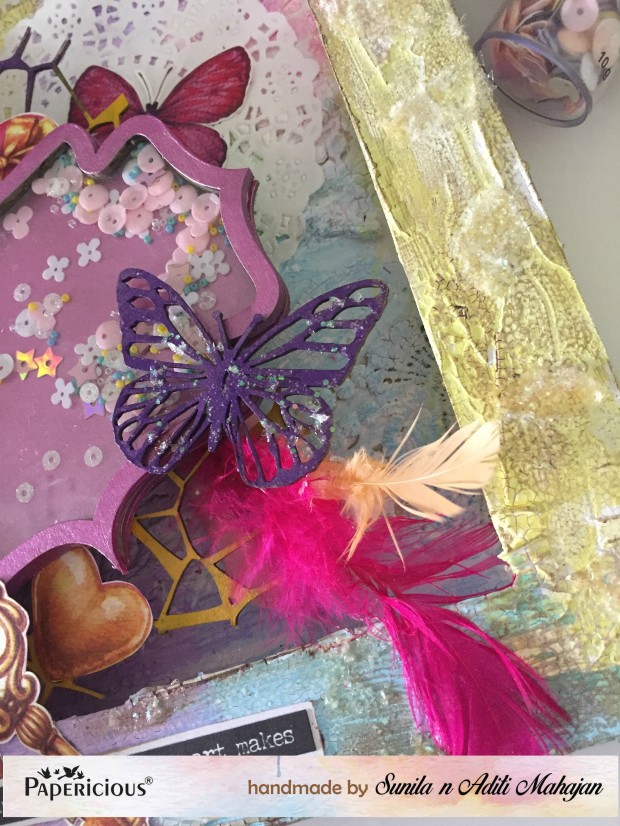
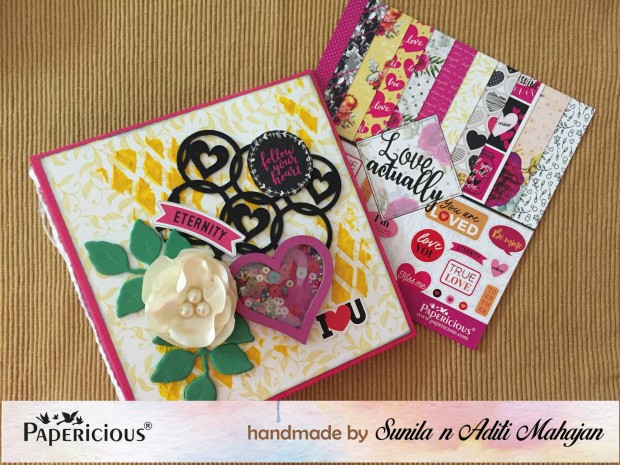
The composition of the cover page is very important in such a project as that is the first thing anyone sees. We do not like to add anything and everything and clutter our cover, so we decide on a composition before we begin.
For this one, we used a die cut piece and stuck it with glue only on two sides to make a pocket. We inserted some quotes from the sheet, inside the pocket and embellished it with hand made flowers. Here’s a quick tutorial on how we made the flowers.

Stamp the image onto your paper, and die cut it. Next colour using inks you have; we used Ranger Dye Inks, as they dry fast and are rich in pigment giving me vibrancy in the colouring.


Next using the shaping tools, shape the flower. Flip it over and press on each petal dabbing the tool moving outside to inside but not in the centre.

Once done, this is what it will look like.

Flip over and press in the centre. Stick a smaller flower inside a bigger and add some beads, You can add glitter or frosting powder as well.

In the same way, you can shape your leaves.
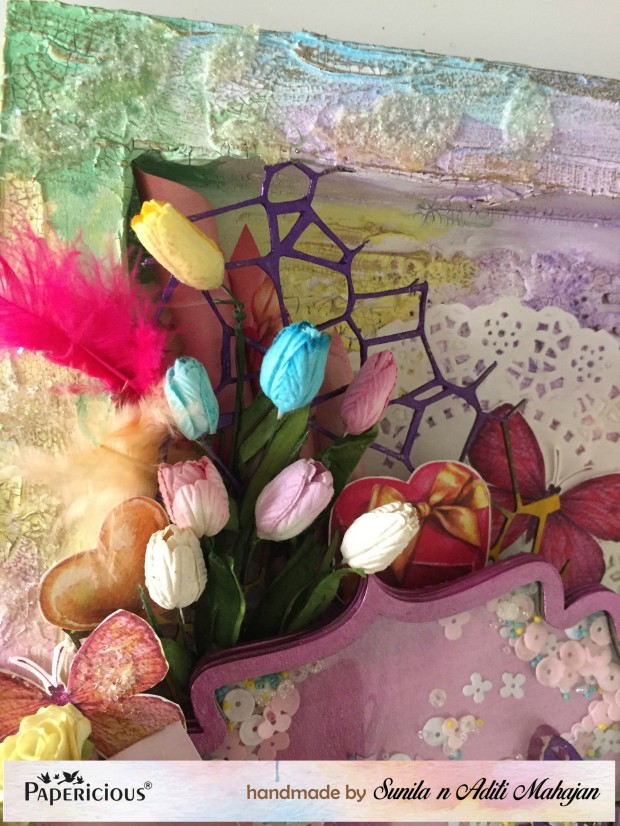
We then arranged the handmade embellishments, and was careful to not add too many as the size of the album is small.
We added some different flowers, on my tags as well to dress them up.
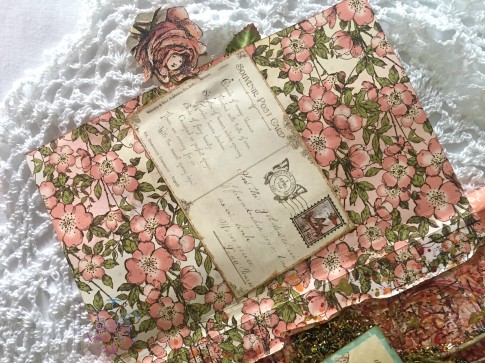
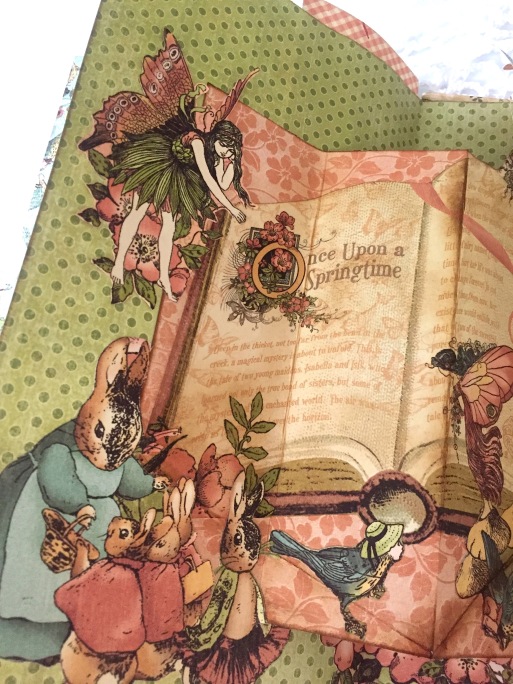
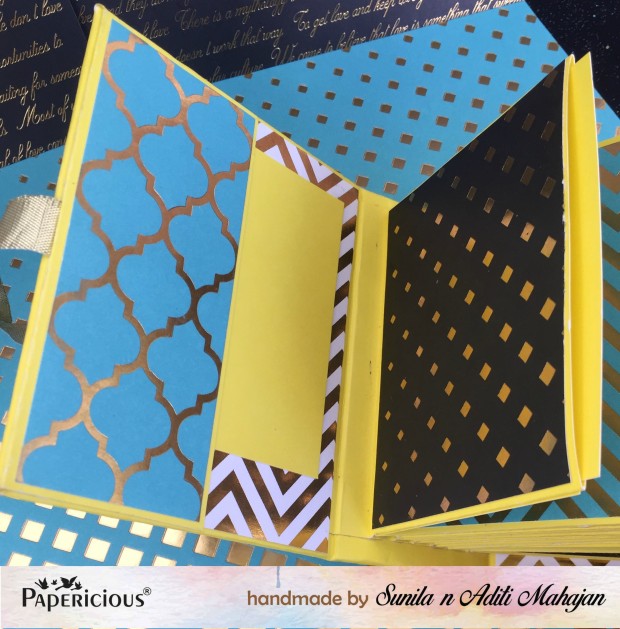
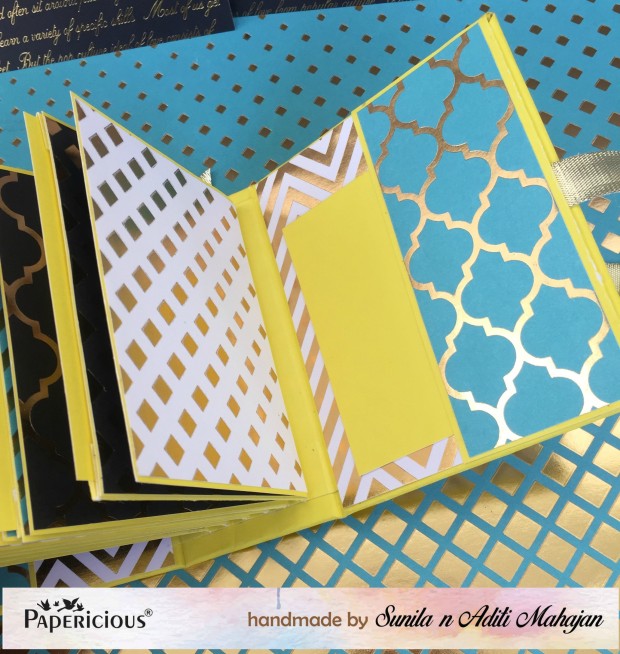
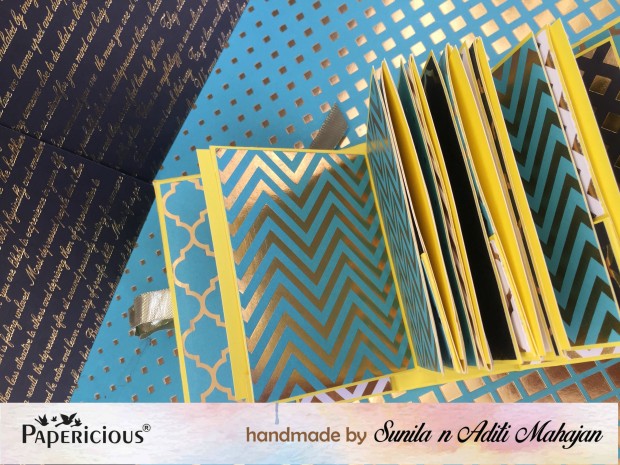
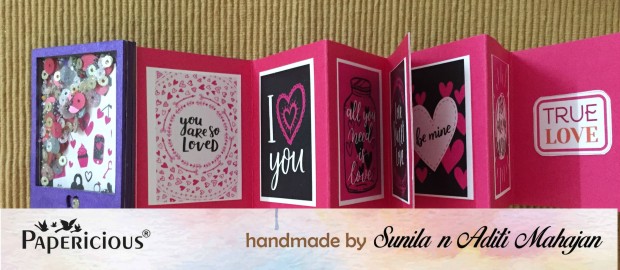
Here are some closeups and pictures of the pages.


Hope you’re inspired and want to create your own album.
All supplies are listed below, and most of them are available at the store or can be pre-ordered.
Happy crafting!
Supplies:
- Red Cardstock- 200 GSM (Album Pages)
- White Iris Cardstock – 150 GSM (for flowers)
- Chipboard- 650 GSM (covers)
- Kaisercraft Be-You-tiful Paper pack- 6″x6″
- Distress Ink- Walnut Stain
- Fevicol
- Red Tacky Tape
- Standard eyelets
- Green Ribbon
- Martha Stewart Punch-Vintage Floral
- Heartfelt Creations- Delightful Daisies Stamp and die collection, deluxe flower shaping tool.
- Archival Ink- Vermillion and Library Green (stamping flowers and leaves) Dye Ink- Lily Pad, Electric Lime, Classic Cherry & Buttered Popcorn (to colour flowers and leaves)
- Orange micro beads
- Glitter
- Martha Stewart Scoring Board
- Sizzix Small Tattered Florals Die


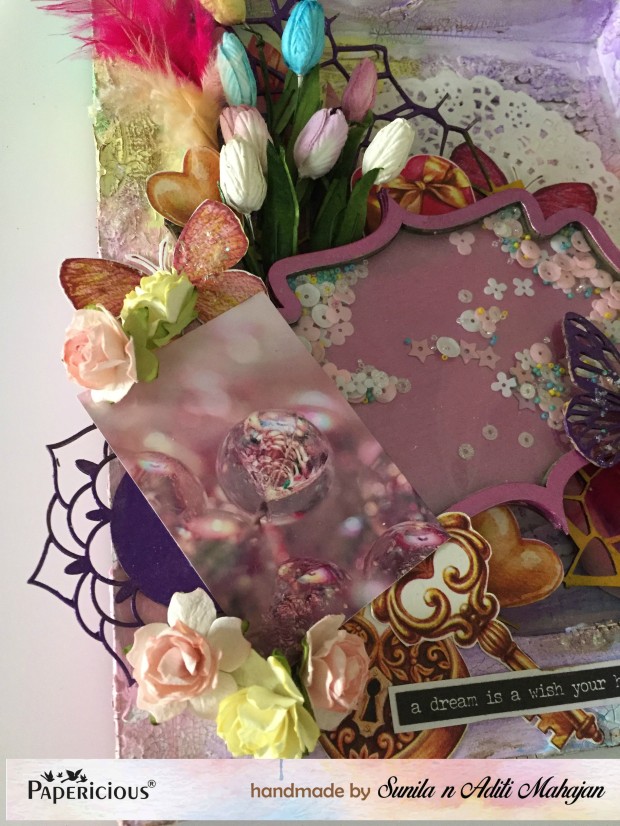

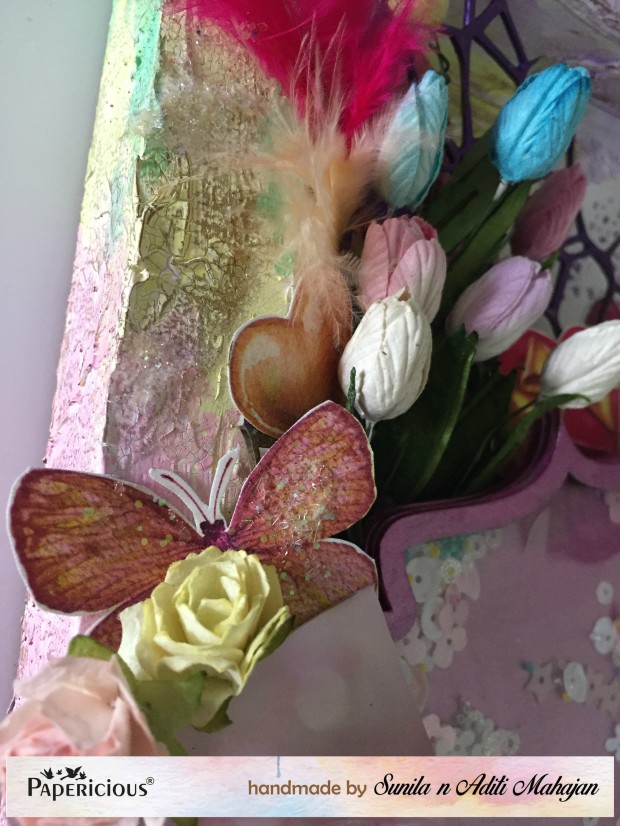


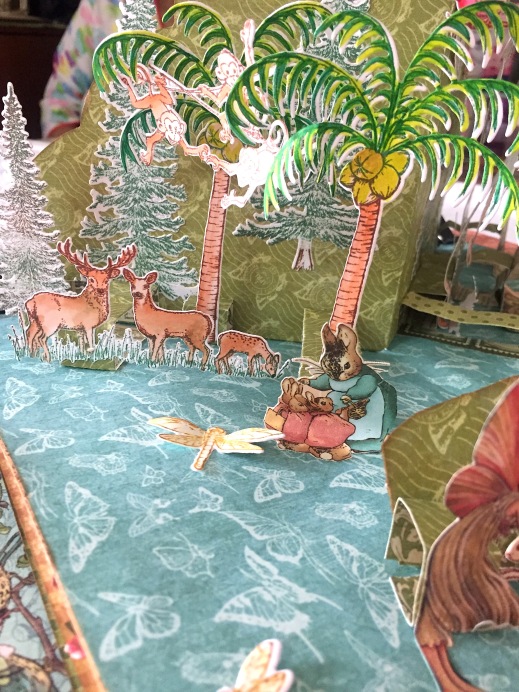
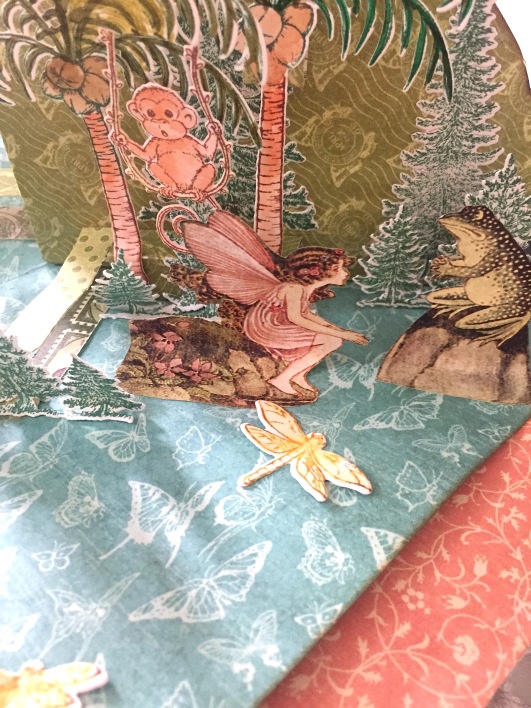
 The second part of the cover introduces this mystical land. We’ve used natural materials to enhance the beauty of the world.